Installing a paid app
Some apps in the 8x8 App Store are paid — they run on App Store credits and require a plan. This is the path for installing any paid app: an administrator signs in to the 8x8 Admin Console, finds the app in the App Store, installs it, and chooses a plan.
The screens below use AI Studio as the worked example, but the flow is the same for any paid app.
You choose a plan as part of installing. For a paid app, installing and selecting a plan are one continuous flow — after you accept the terms you land directly on the Plans page. See Selecting a plan. (A free app skips the plan step.)
Step 1 — Open the App Store
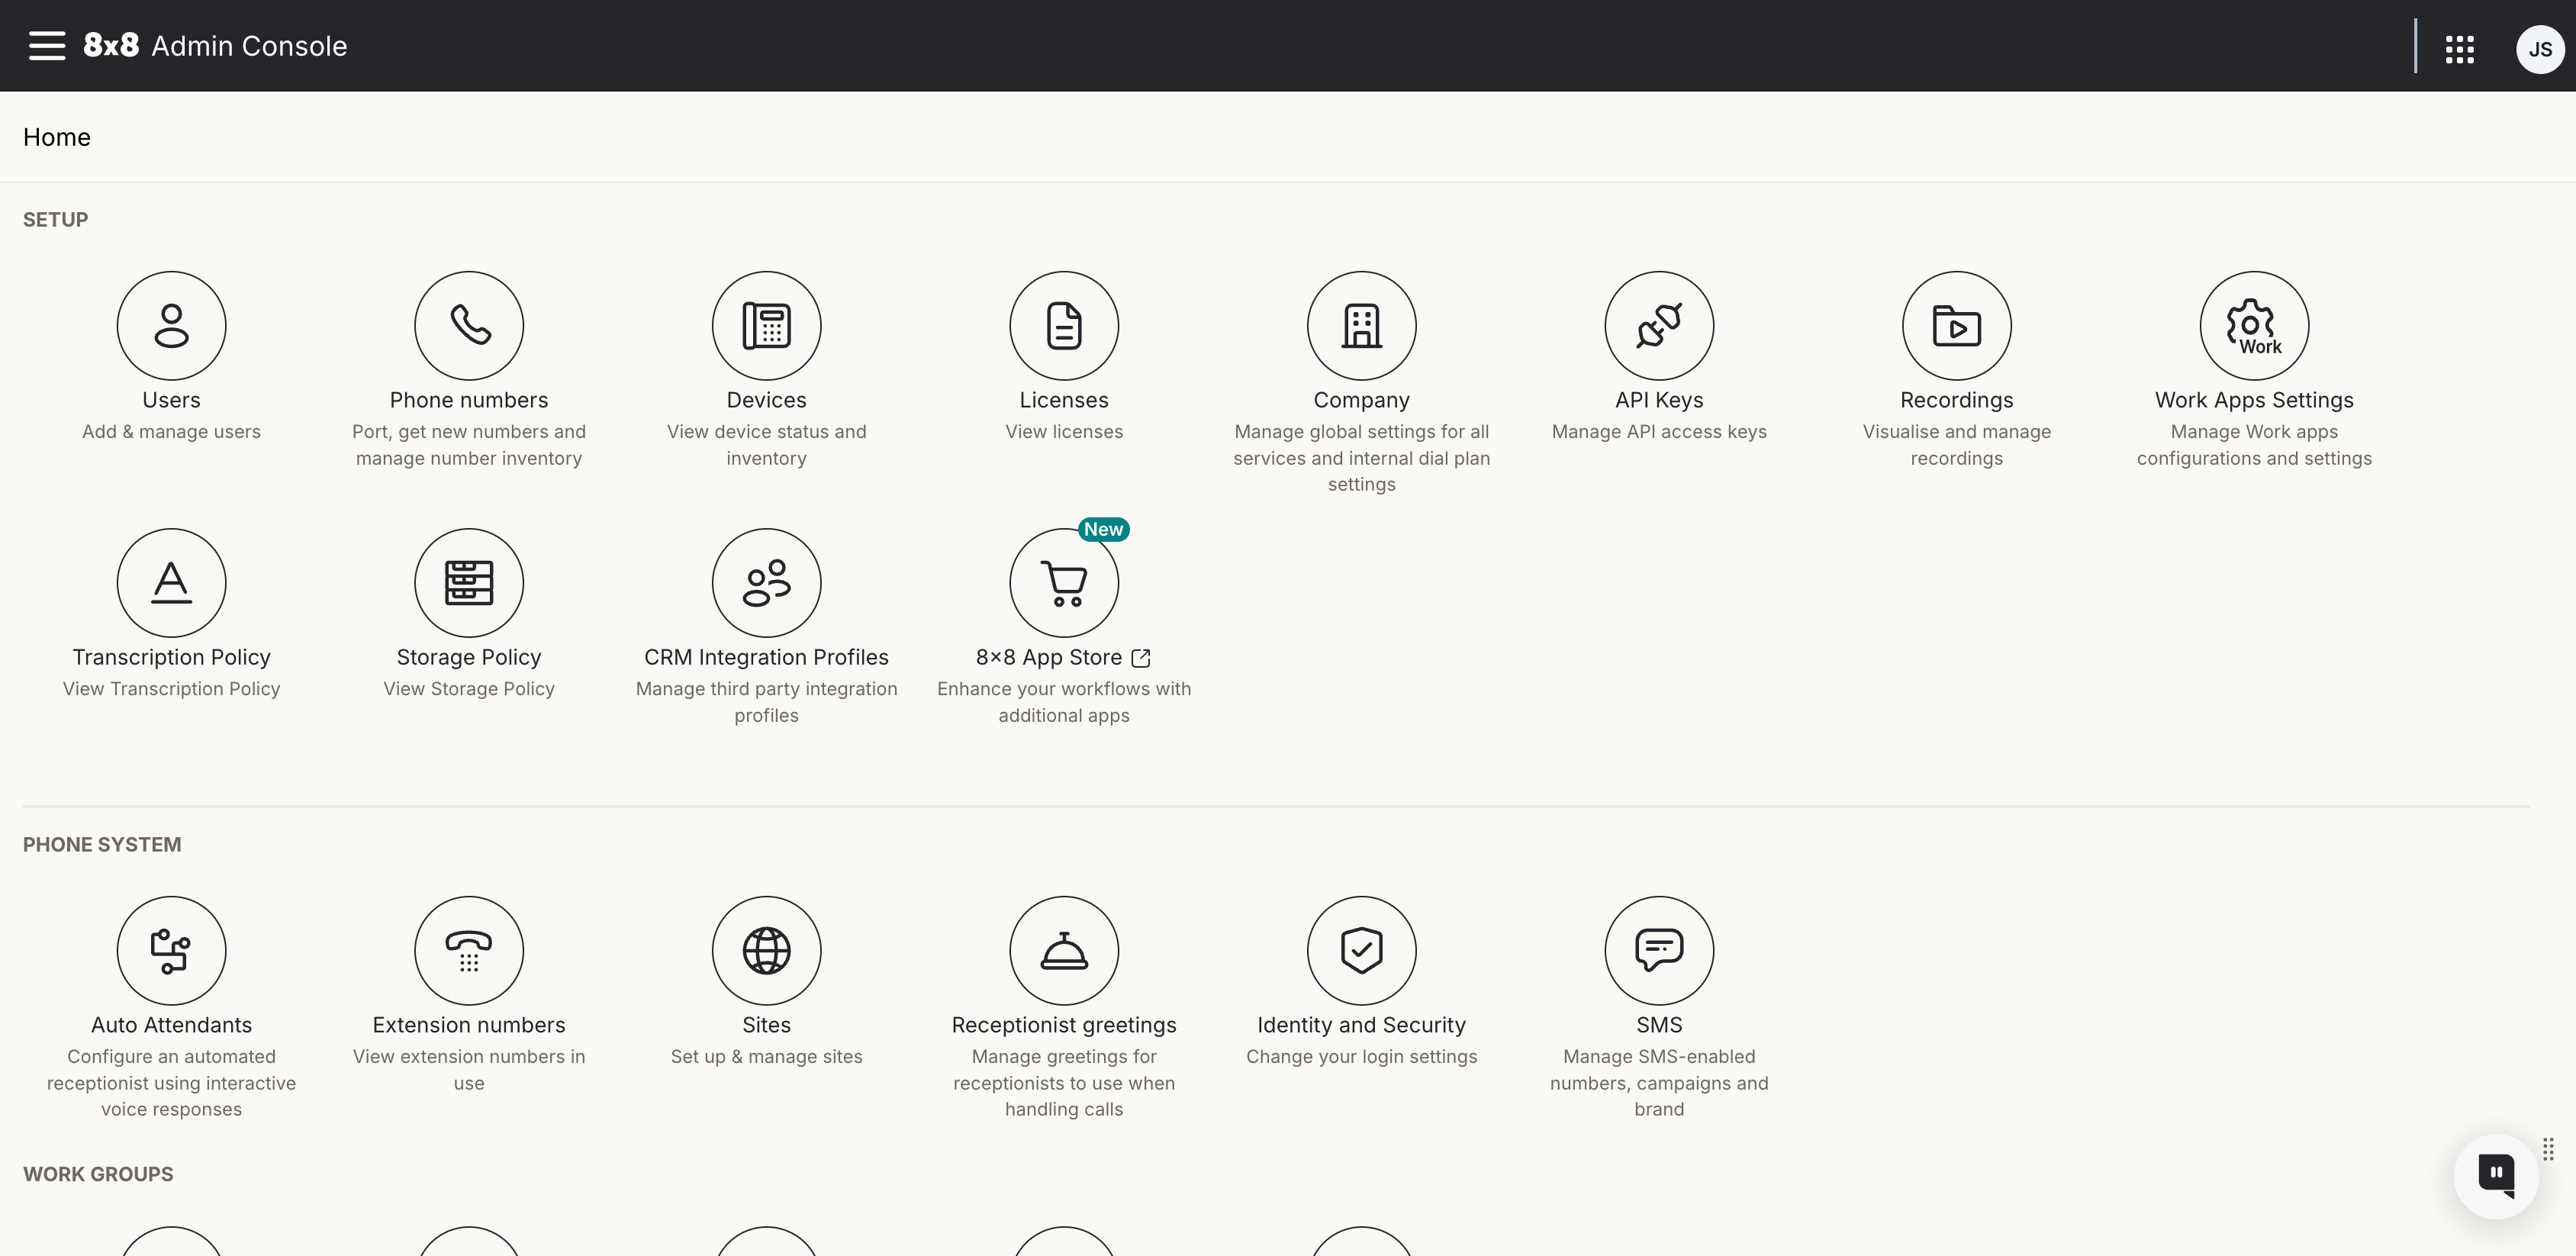
From the 8x8 Admin Console left navigation, open the App Store.
Step 2 — Find the app in the catalog
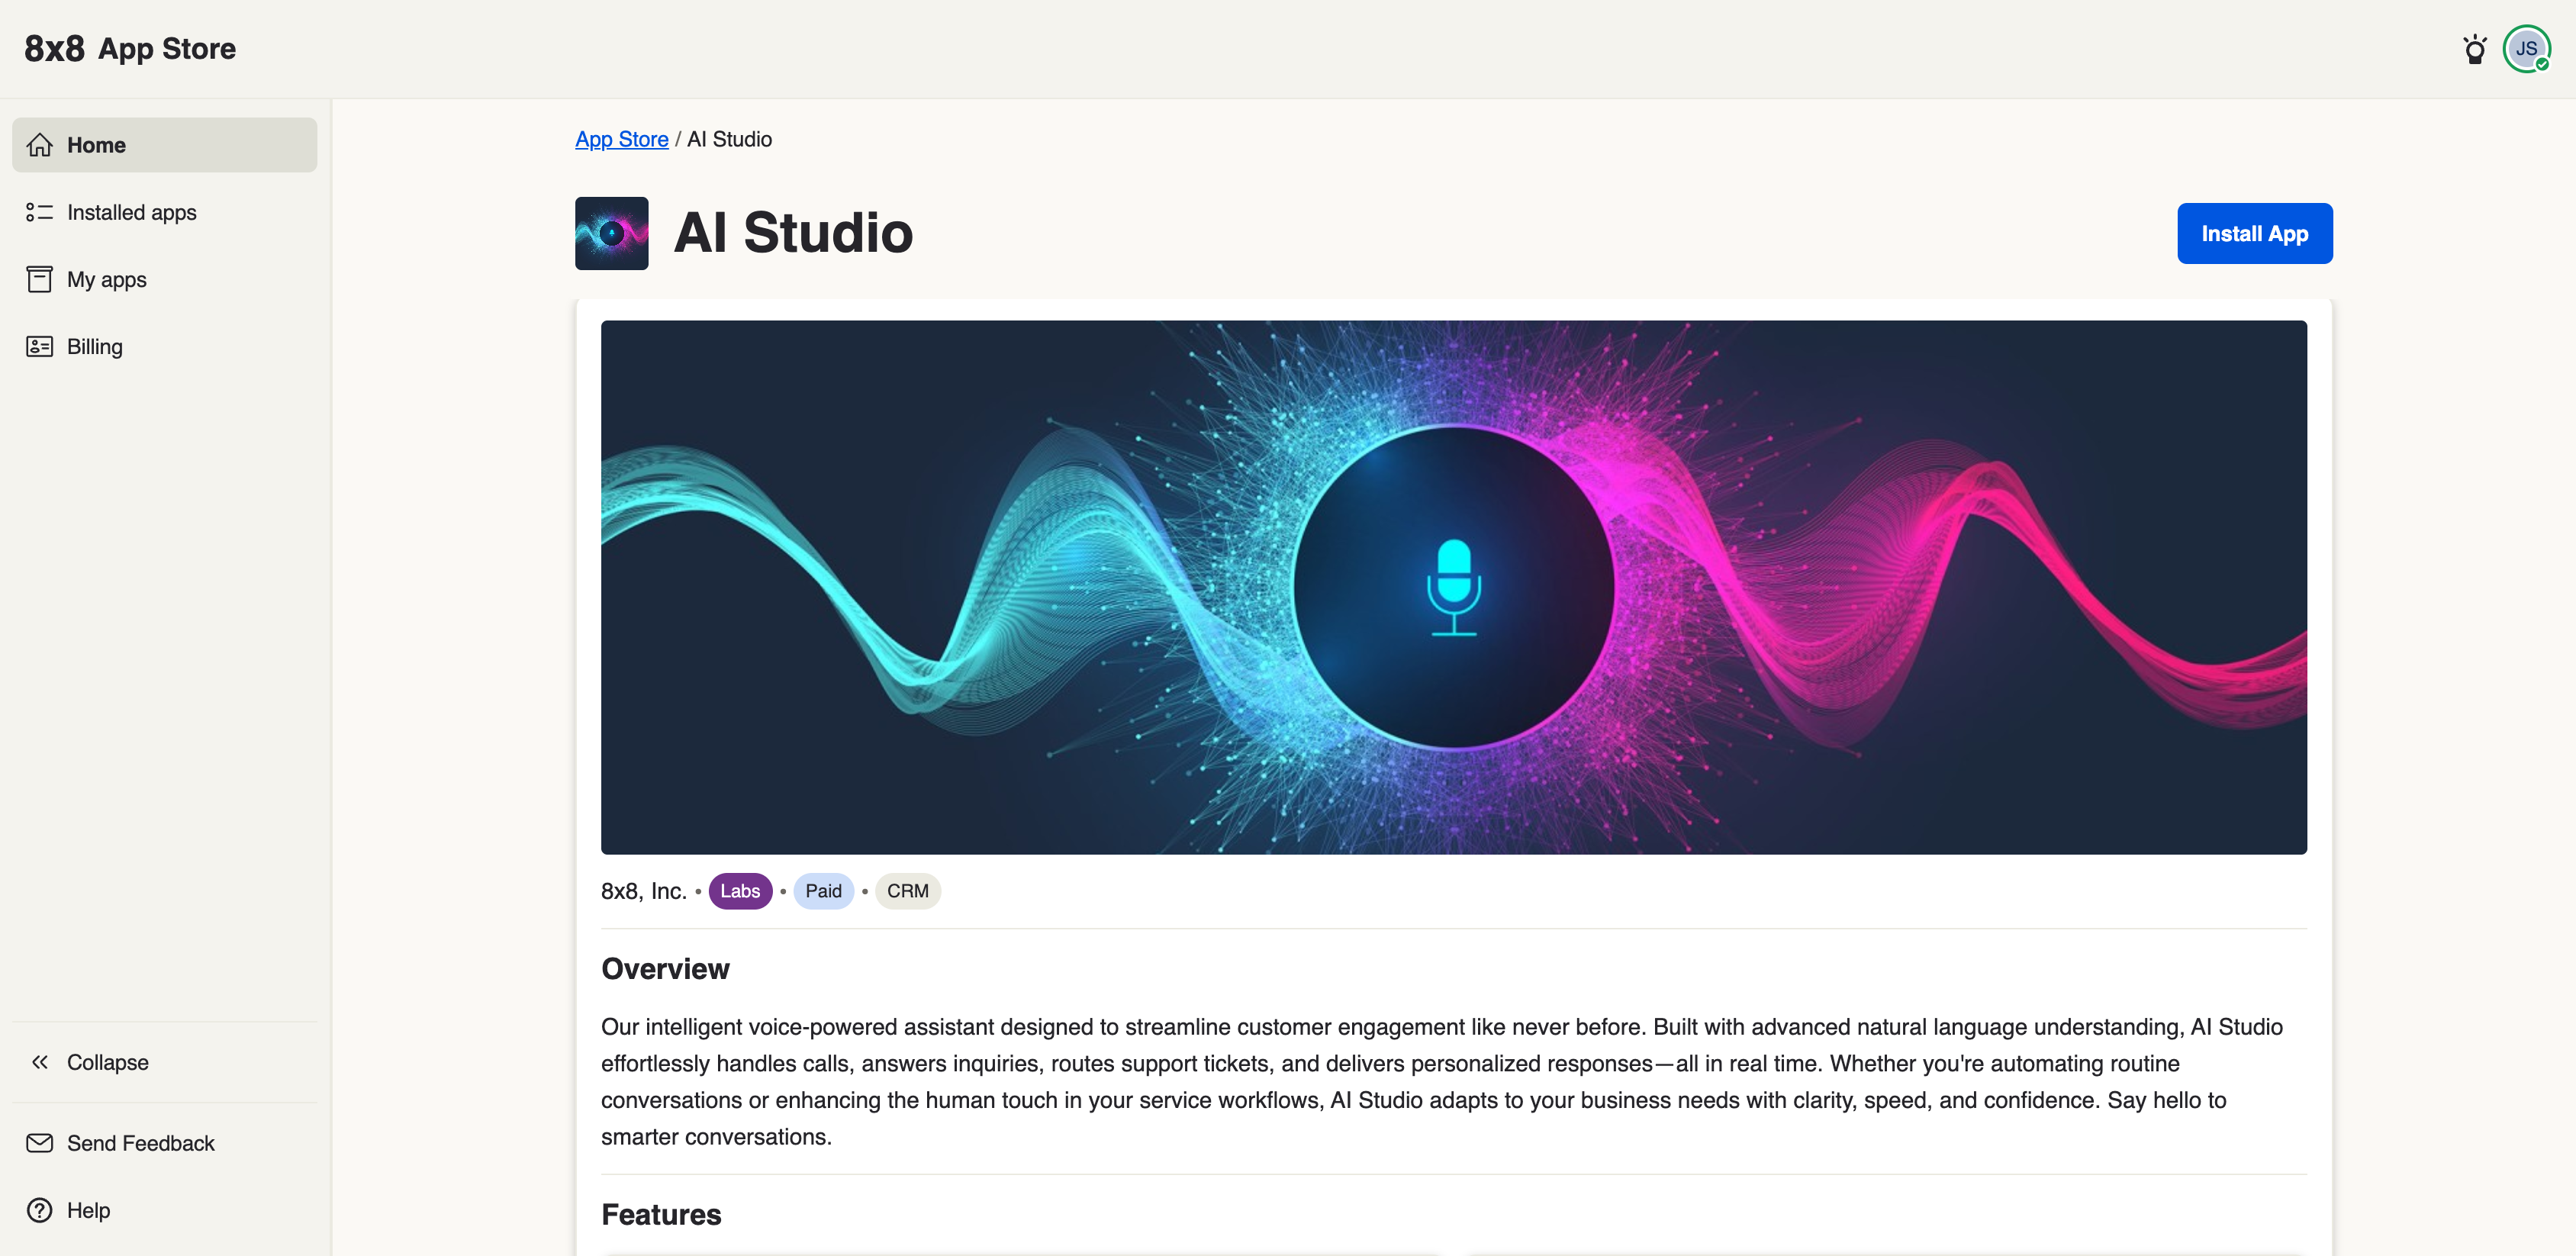
The app appears in the catalog alongside the other 8x8 apps available to your organization. A paid app is marked with a Paid label. Click the app's tile to open its details page.
Step 3 — Review and click Install
The details page describes what the app does and its pricing model, with an Install button.
Step 4 — Accept the terms
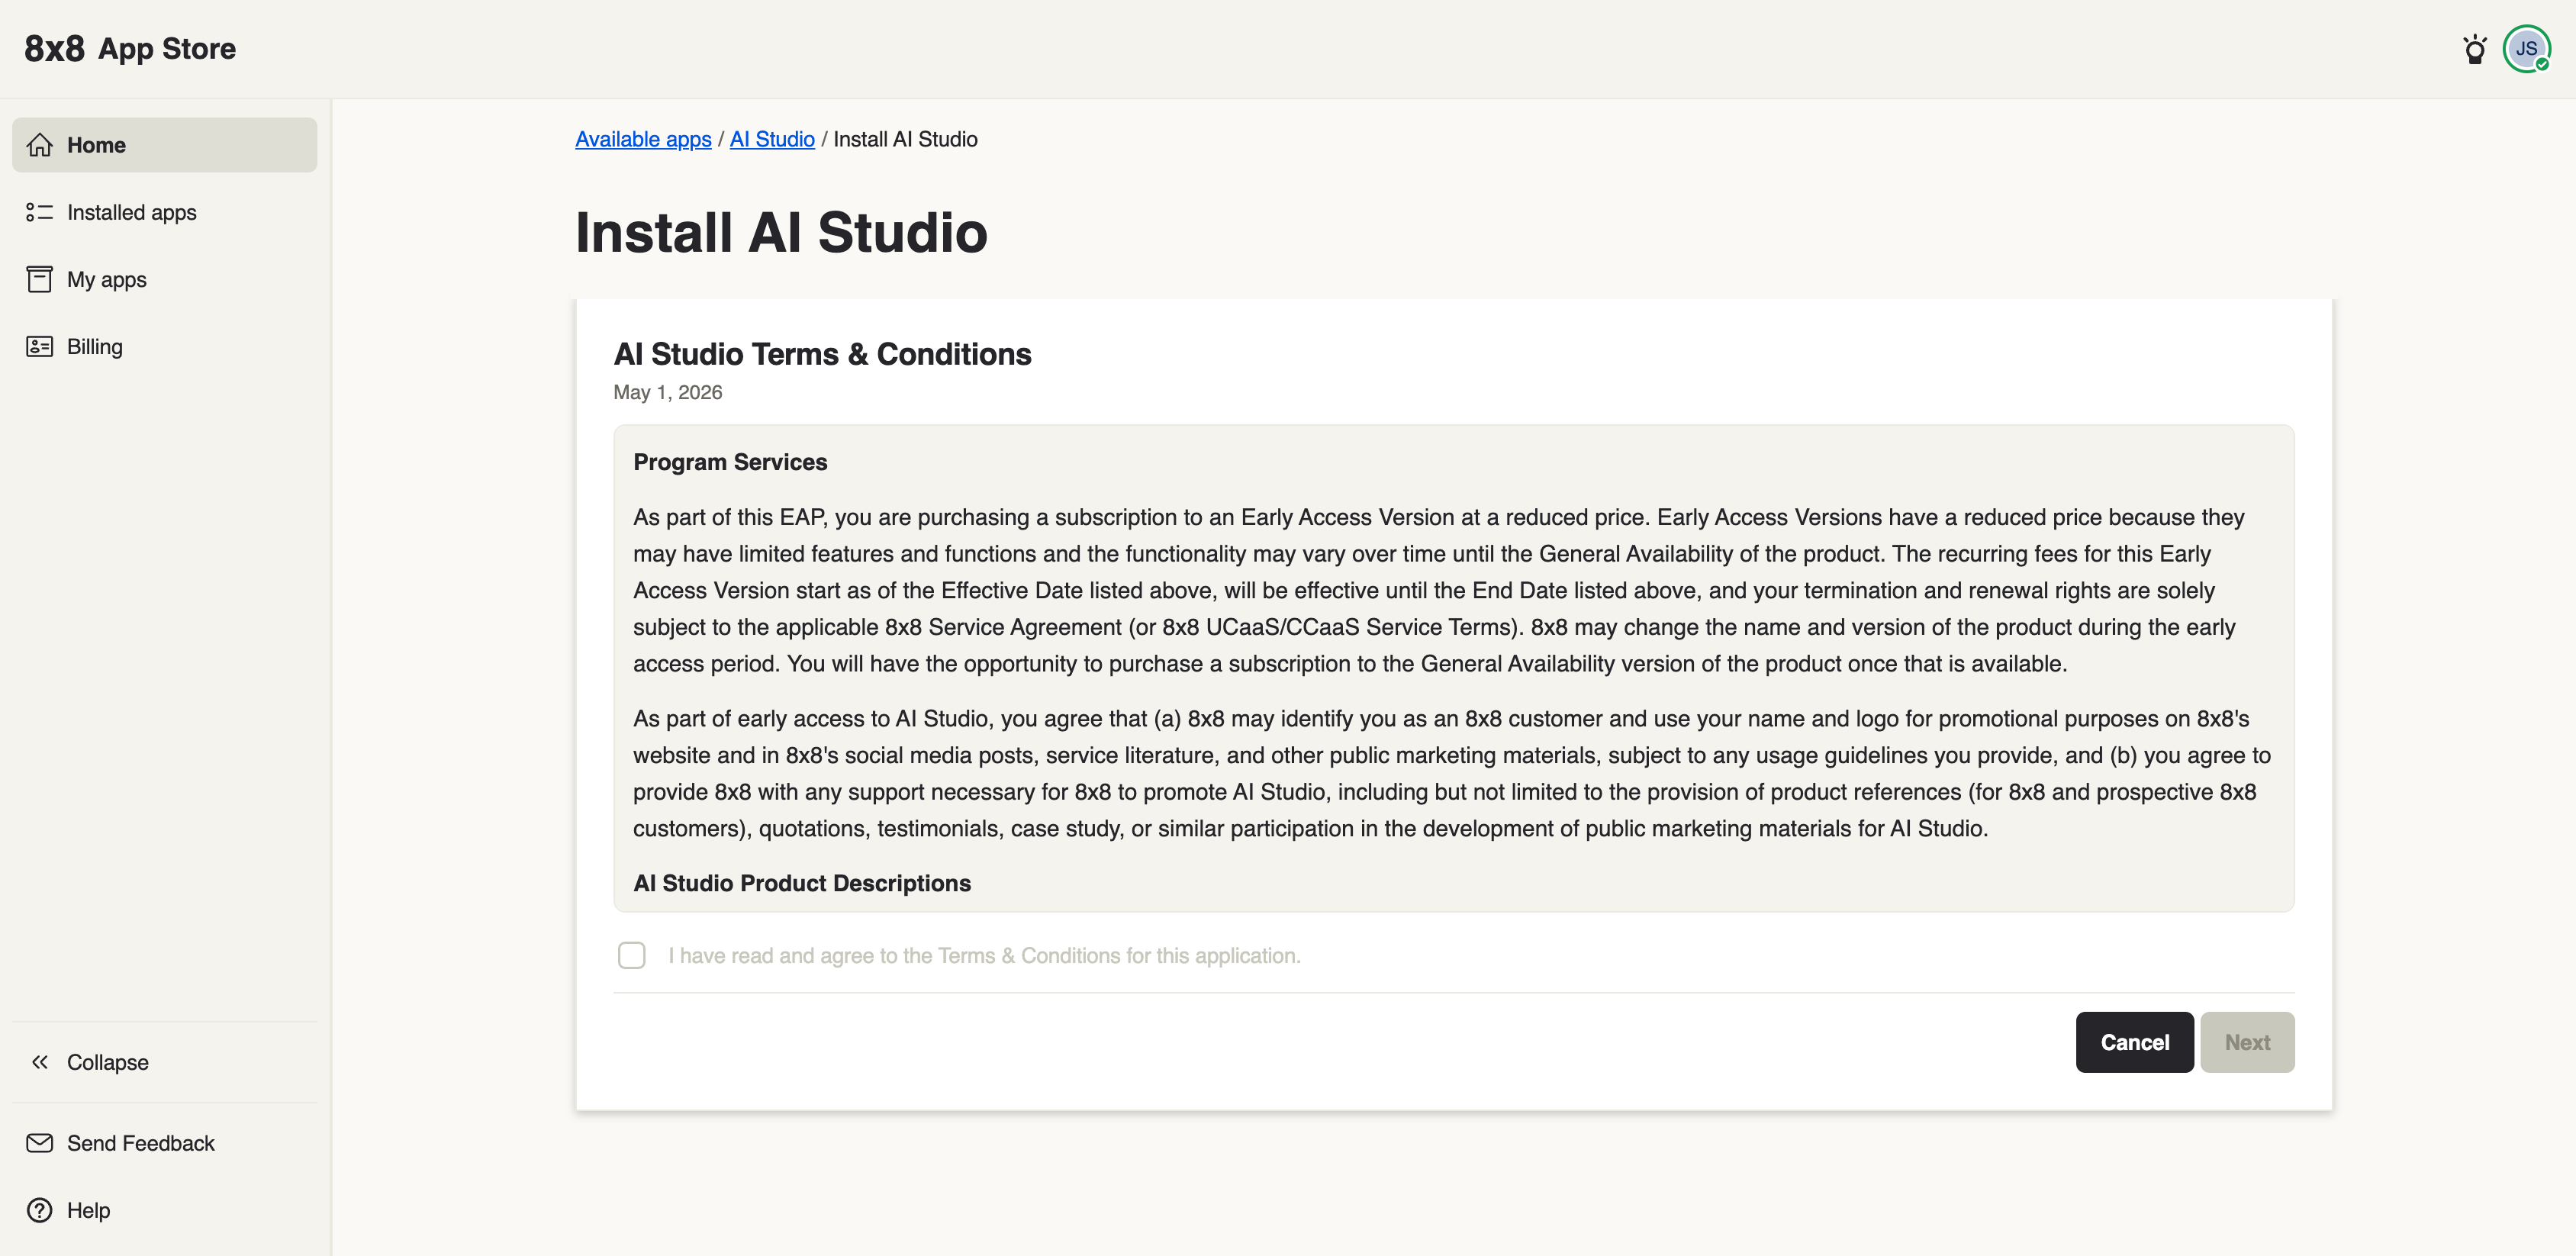
A window opens with the app's terms of service. Scroll to the bottom — the Accept button stays inactive until you do. Click Accept to install the app for your organization.
Step 5 — Choose your plan
Because this is a paid app, you then arrive on the Plans page. This is where you subscribe.
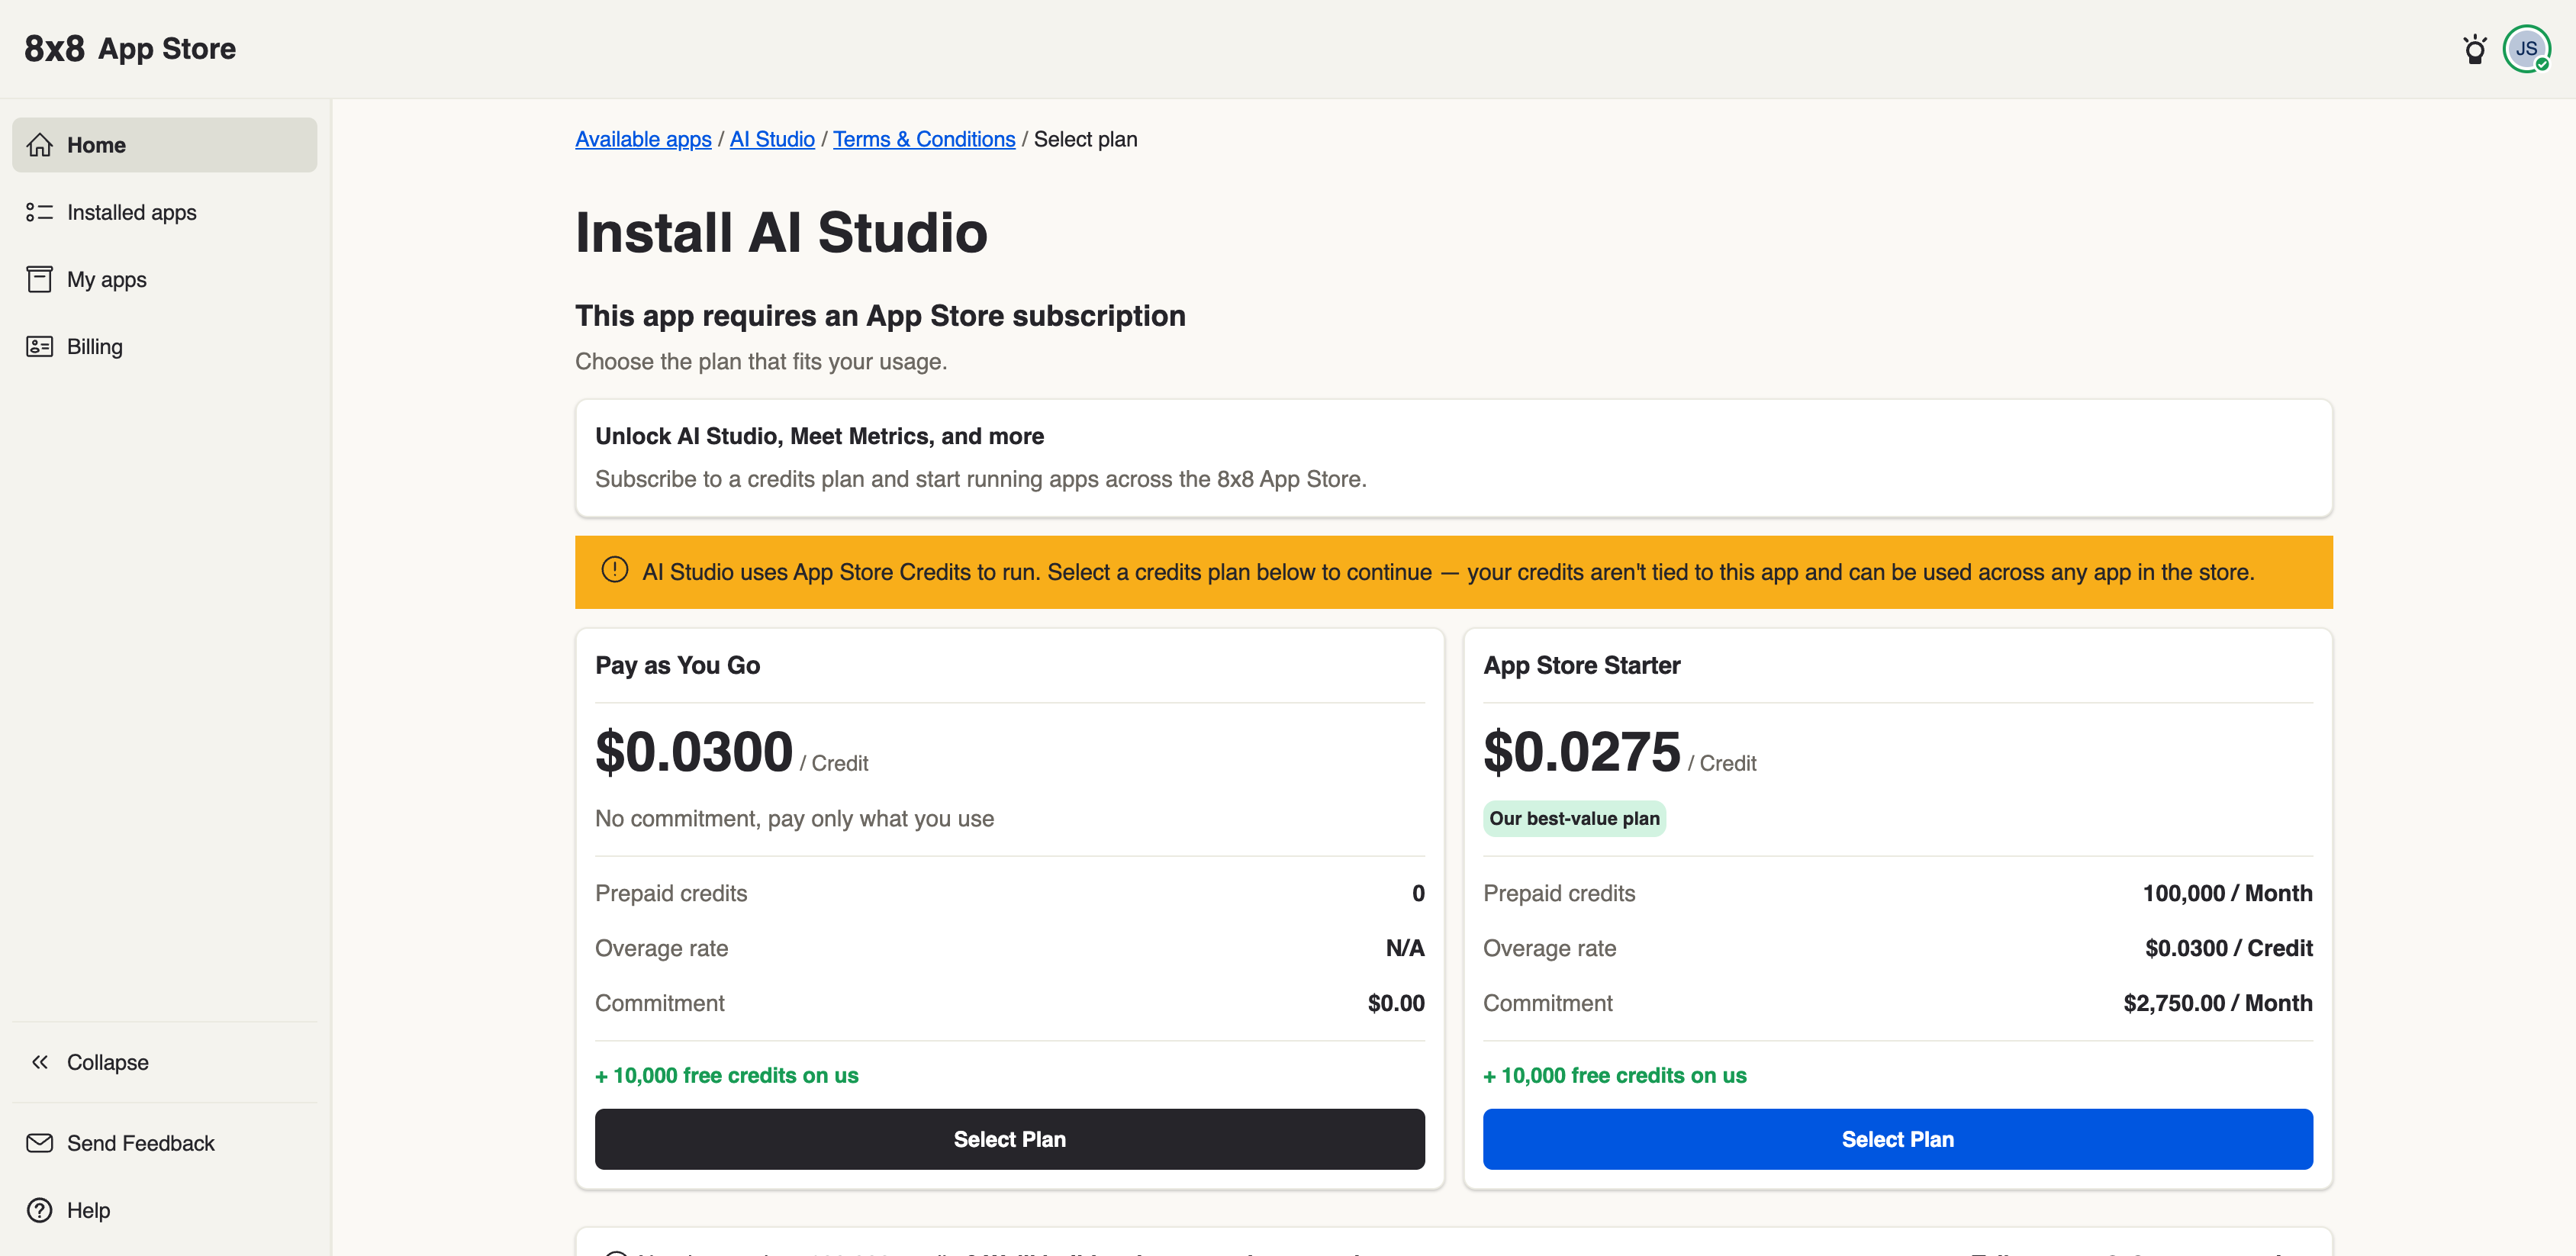
Continue to Selecting a plan.